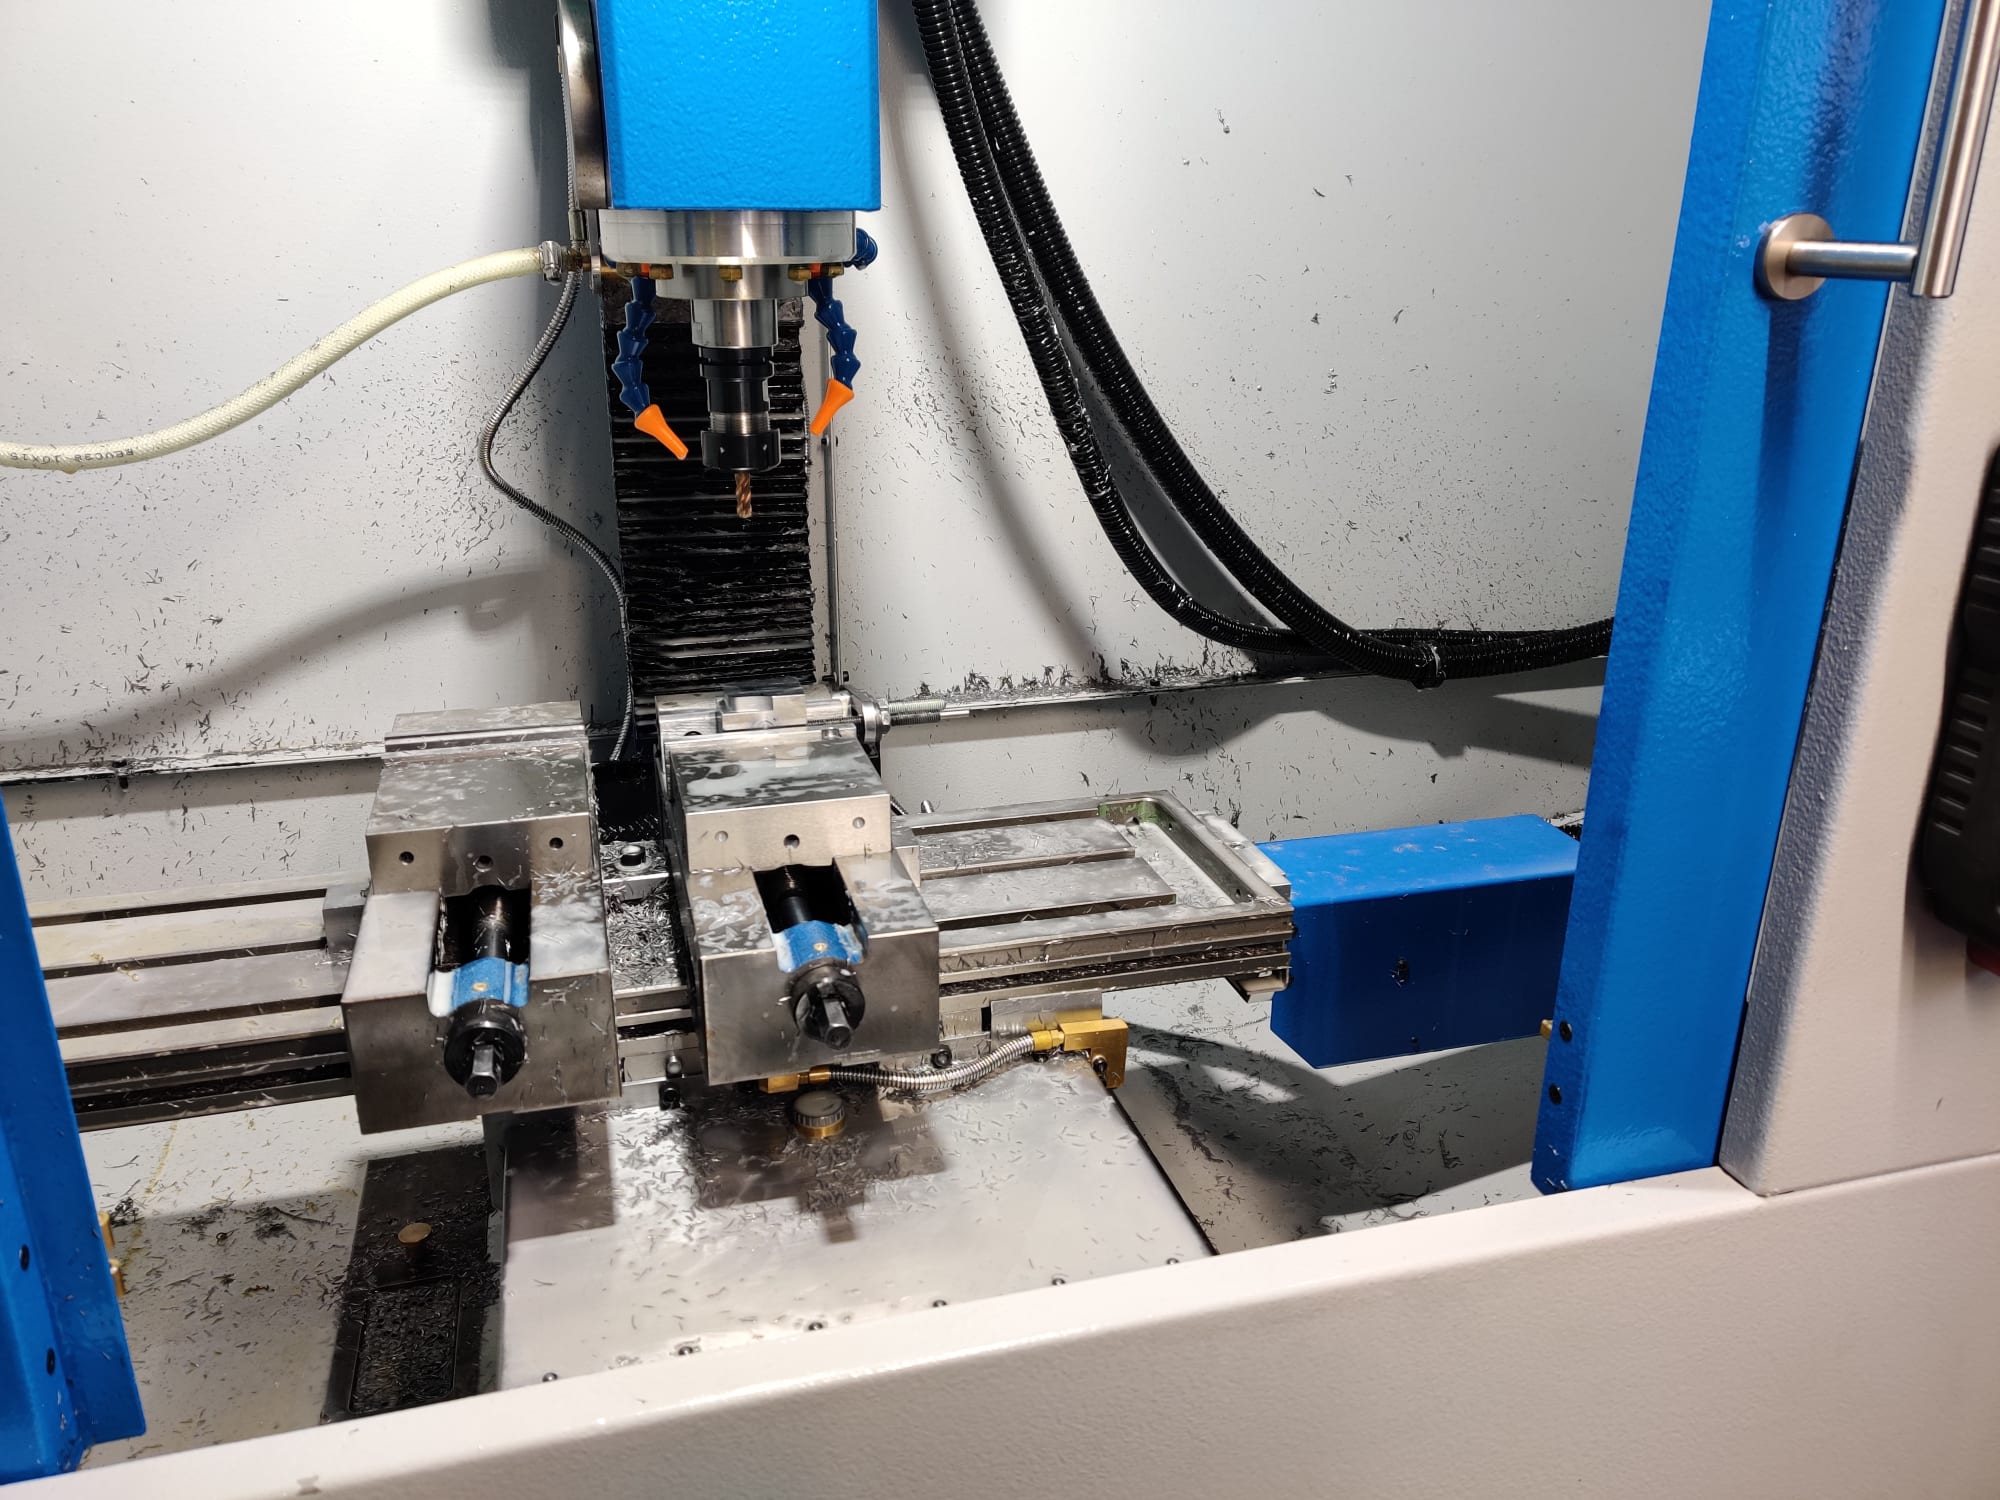
Building the machine
Before a single tonearm part could be made, we needed a machine capable of making it. That meant building one.
Space in our workshop rules out most options. A full CNC mill and a separate lathe would have been ideal, but there isn't room for both. We needed one machine that could do everything, and we needed to build it ourselves.
The Starting Point
We settled on converting a Warco WM16B manual milling machine. The whole conversion was designed in Fusion 360: enclosure, electronics, control system, everything. It took around three years of weekends to complete. The sheet metal parts were laser cut and bent by Luffman Engineering, a local firm, then brought back to the workshop for welding, painting, and assembly.
But before any of that could start, the machine itself needed to be properly rebuilt. Stripping it back to its bare castings revealed what we'd suspected: almost every axis needed hand scraping.
Hand scraping is a traditional technique where a carbide scraper is used to level metal surfaces by hand, removing tiny amounts at a time until the surface is as flat and true as any surface grinder could achieve. It's slow, painstaking work. It took months of weekends. But getting it right at this stage is the difference between a machine that holds tolerance and one that gradually drifts. My dad has the patience and the experience for this kind of work. I learned a lot watching him do it.
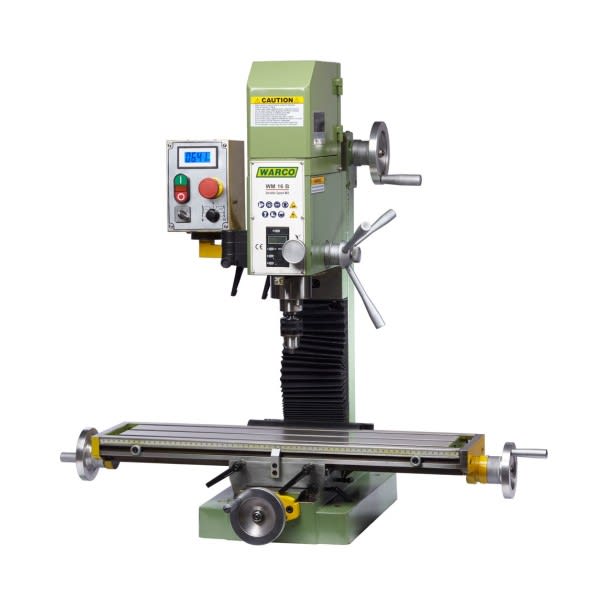
The Warco WM-16B
The Enclosure
With the machine rebuilt and the CNC axes fitted, the next challenge was making it usable. Without a proper enclosure, coolant and metal chips go everywhere. All the enclosure design had been done in Fusion 360 alongside the conversion, so the sheet metal came back from Luffman ready to assemble.
Everything got two coats: epoxy primer followed by an epoxy top coat, chosen for its resistance to cutting oil and coolant. Regal Paints, UK. We don't want to be repainting this in five years.

Enclosure bottom being painted
The Coolant Problem
The first coolant system used neat cutting oil as a flood coolant. It worked well enough, but within weeks everything in the workshop was coated in a fine oily mist, and at around £130 for 25 litres the running costs were unsustainable. We admitted defeat and switched to a water-based semi-synthetic, Qualichem Xtreme Cut 250C. An inline filter was added to the pump output to stop metal particles being sprayed back at the cutting tool.
Getting coolant to the tool cleanly required a custom coolant ring machined to fit around the spindle, with Lockline pipes to direct the flow exactly where needed. It was also the first real part cut on the new CNC machine, a satisfying milestone after months of building infrastructure.
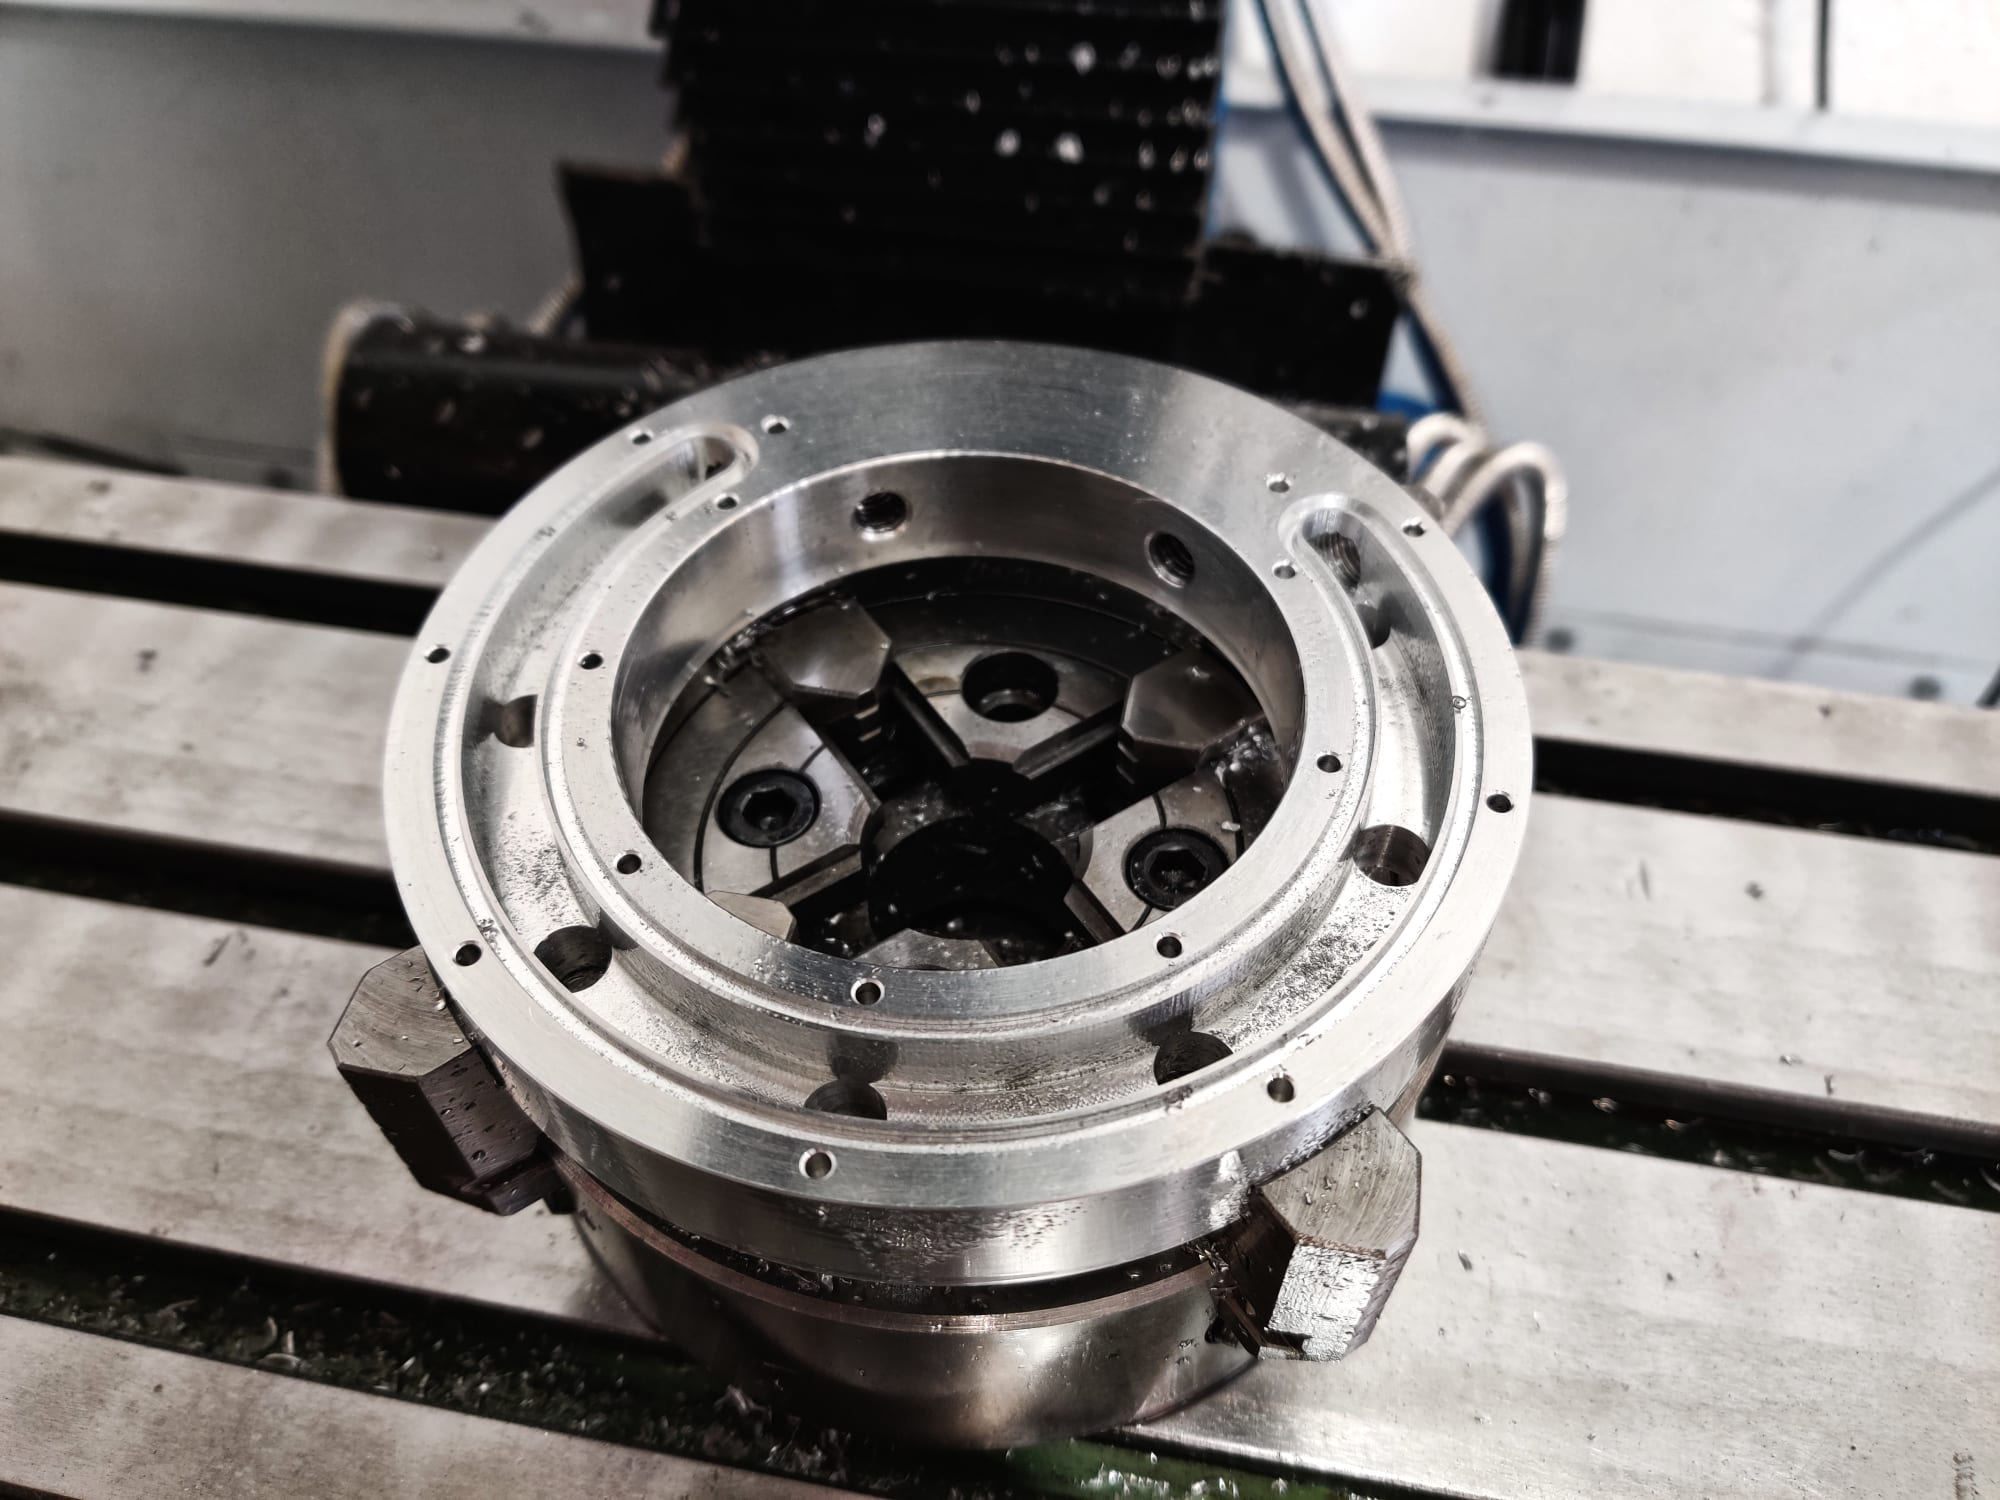
Main body of coolant ring
The Power Drawbar
One problem remained before the machine was production-ready. Changing tools on a manual drawbar means repeatedly tightening and loosening a bolt above the spindle by hand. Slow, repetitive, and hard on the wrists. For a single part requiring fifteen or more tool changes, it wasn't viable.
The solution was a pneumatic power drawbar: a compressed air system that releases and locks the tool at the press of a button. We designed and built the entire thing in-house using the CNC machine and the manual lathe. The cylinder is a three-stage design, all parts machined from aluminium. A tool change now takes seconds instead of a minute spent working a bolt above the spindle.
We also adopted the TTS tool holder system, sourcing holders from Emvio Engineering in the UK. A 12-position tool rack was designed, laser cut, painted, and fitted to the side of the machine. Twelve positions filled up faster than expected; with some parts requiring more than 15 tools, a second rack is already on the list.
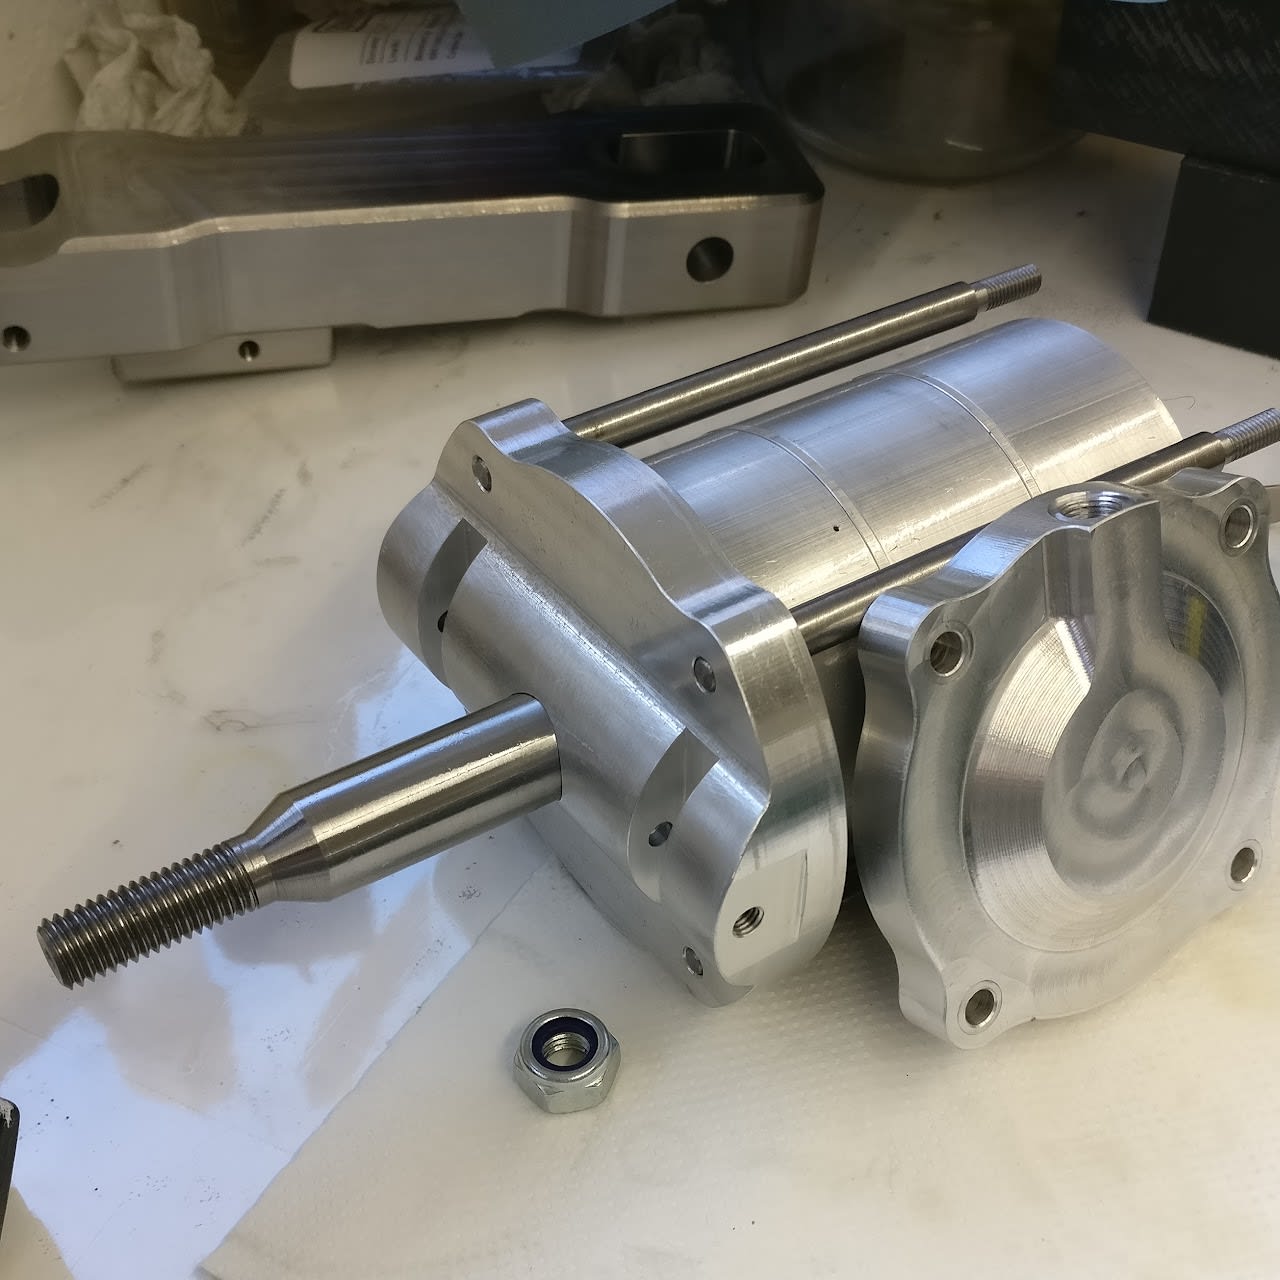
3 stage cylinder & piston for power drawbar
Finally Making Parts
By the end of April 2023 the machine was fully operational. Three years of weekends. A rebuilt machine, a custom enclosure, a coolant system, a pneumatic tool changer, a lubrication system feeding oil directly into the main castings.
It wasn't the plan to spend three years building a machine before making a single tonearm part. But there was no shortcut. If the machine isn't right, nothing that comes out of it will be either.
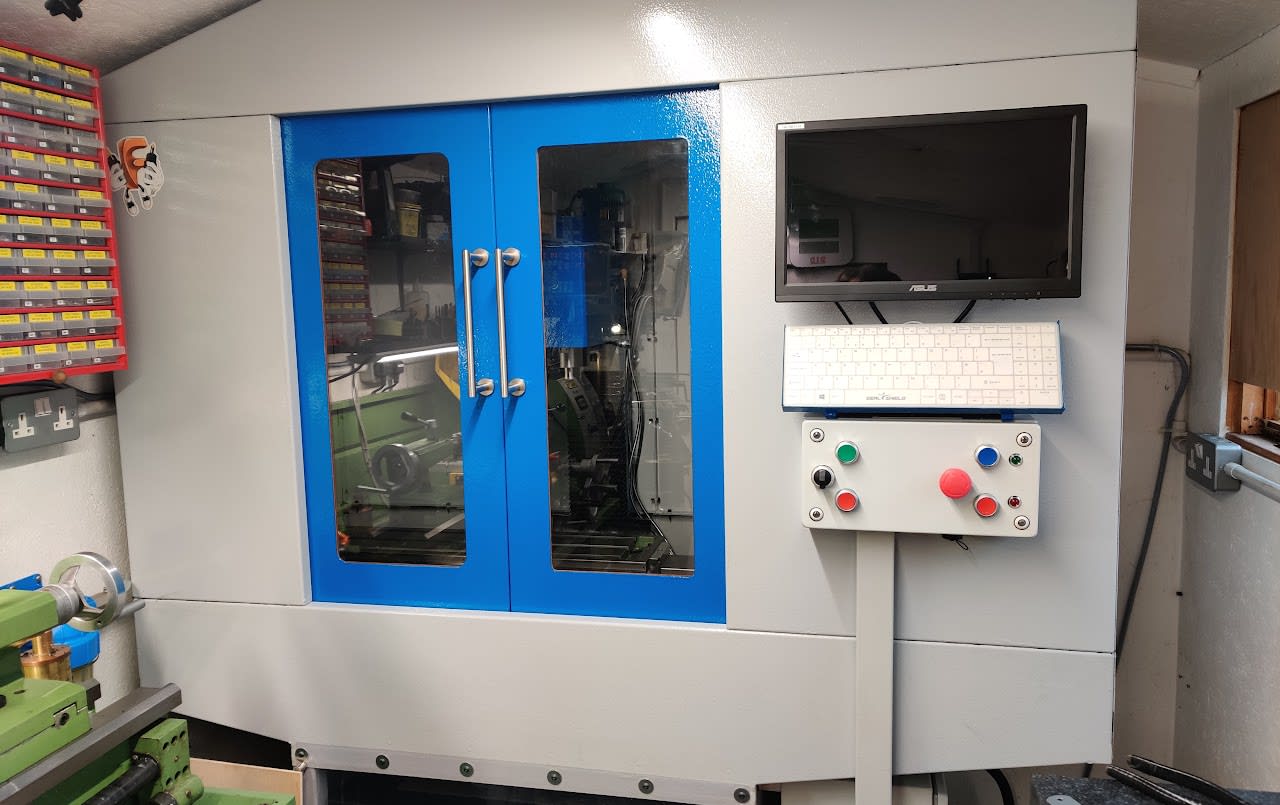
CNC machine ready for production, for now..